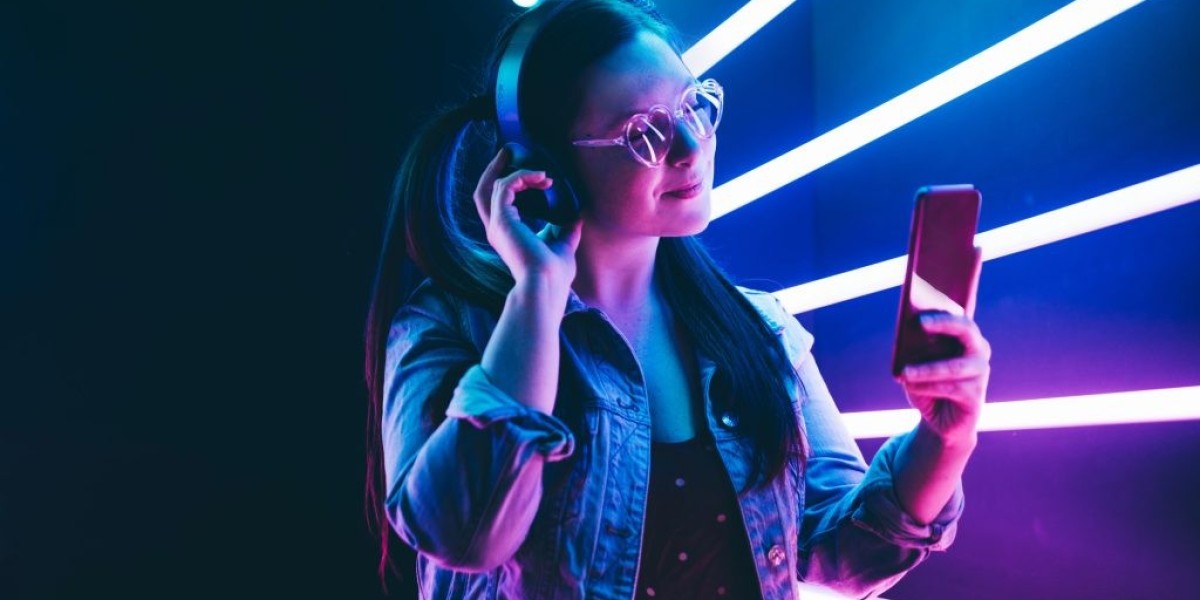
The selfie craze is real and it's not slowing down anytime soon. With social media, people take more selfies than you would think. So what are the secrets to a good selfie? The lighting, angle and frame all make a big difference in how your photo will turn out! In this post we'll walk through some tips on how to take better selfies for social media- so let's get started!
- First off, you need to find a good location. A lot of people say that the best lighting is natural light and it's also free! So try taking your photo in front of a window or outside on an overcast day - that way there are no harsh shadows on your face. Just make sure the sun isn't too close to your face or the bright light will end up washing it out.
- The angle is also very important for a good photo - you want people's eyes to go straight into yours and not be blocked by an arm, hair, etc. So make sure that you're looking directly at the camera on either side of your face! You can also choose to angle the camera down, or up for a whole new perspective.
- Keep in mind of your frame as well! You want it to be tight on your face with no distractions so that people will focus almost only on you - this is usually achieved by standing right in front of something simple like an open doorway and then taking a photo on your phone.
- Finally, don't forget - practice makes perfect! It's hard to get the lighting and angle just right all at once so if you're not happy with how it turns out, take another photo in a different spot or change up something about yourself until its perfect :) There are tons of apps that can help you with all the different angles and lighting so don't be afraid to use them!
- To conclude, selfies are a great way of sharing your world with others on social media. But in order to get that perfect selfie, you need to know tips for taking good photos - like where to find natural light or what angle will make the best photo. Follow these simple tips and you'll be taking better selfies for social media in no time!
- #selfie #socialmedia #tipsforbetterselfies
Filters are an important part of using your phone's camera to take the perfect selfie! There are many different types of filters that you can apply to photos in order to get a unique, filtered effect. These filters will change the look and feel of the photo so be sure to experiment with all types until you find one that suits your personal style best.
#1 Retro Filter
A retro filter darkens and flattens certain tones within the image. This gives a vintage vibe which is great for looking back on memories or events from yesteryear!
#2 Black and White Filter
This filter reduces colors to black, white, gray skin tone (depending on user settings) - it helps give an older feel like old movies and photos.
#3 Blur Filter
This filter blurs the image, creating a soft-focus around the subject - often times this creates an ethereal effect which is great for portraits or when you want to play up your eyes in order to create that "bedroom look" ;) This type of filter is also used by those who have acne or skin imperfections and want to hide the more unflattering parts of their face.
#4 Grunge Filter
This filter is a little edgier than some because it distorts colors, reduces saturation and creates an overall grainy look - perfect for those who love that urban grunge style!
#5 Pinhole Camera Filter
This filter mimics the effect of a pinhole camera which creates a vintage look. It's great when you want to give your photo that creative, artsy vibe!
#6 Lomo Filter
The lomo filter is similar to the retro and black white filters in terms of its effects - it darkens certain tones and flattens them to give the viewer a vintage feel. It also increases saturation in certain areas of your photo which is great for adding color!
#7 Fisheye Filter
This filter captures a full 180-degree view - so everything will be in focus and you can see what's going on all around you, like if there were a bunch of people in a room. It's great for capturing group shots but also makes everything look really distorted!
#8 Glamour Filter
This filter gives your photo an instant glam makeover - perfect when you want to capture that fancy, sultry selfie :) The lighting is even and the color will be enhanced so it looks like a professional photoshoot.
#9 Sketch Filter
This filter is similar to the old school charcoal sketches in that it gives your photos an "old drawing" look which can be used for artistic purposes or if you want to give your selfies a more vintage feel. It's great when combined with other filters because it creates new effects like deep shadows, reduced contrast a faded look.
#10 HDR Filter
This filter captures the most detail in one photo by taking three photos at different exposures and combining them for an overall balanced exposure - it's perfect if you're looking to get all of your subjects in focus without having to worry about blurry details! The difference between this filter and the Grunge filter is that the HDR Filter will retain some color while the Grunge filter distorts colors and reduces saturation.
What's your favorite filter? Let me know in the comments below!
- #selfiebestpractices #howtotakebetterselfiesforsocialmedia
The most important thing to remember when taking a selfie is to always do your best and be confident in yourself! If you're not happy with the way the photo came out, don't worry because there's no right or wrong way when it comes to selfies :) Just keep trying different angles, lighting frames until you find something that works for you.